GeoJson
GeoJson (Geographic Javascript Object Notation)
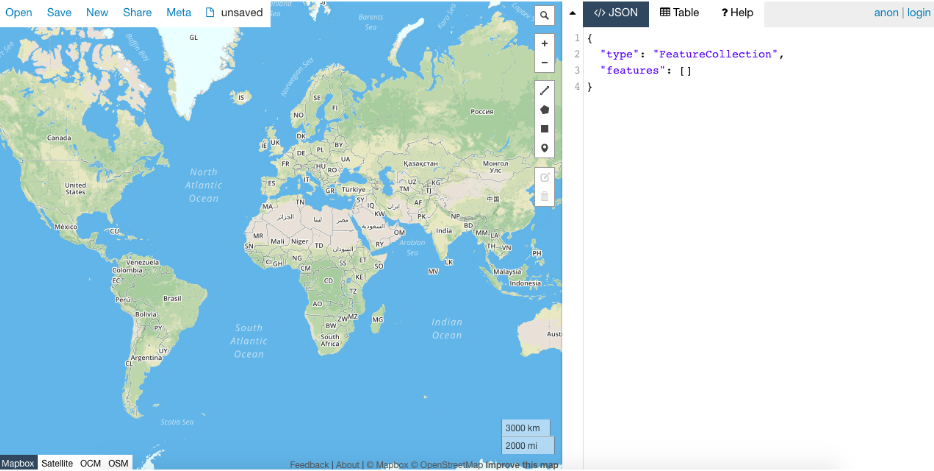
Geojson.io is a great tool for simulating the kit’s mapping experience. Think of it like a playground. Users can use Geojson.io to familiarize themselves with the interplay of data and code that comprises a mapping project. The map contains every tool and feature of a custom Google Map, except it also teaches users how to read the code that underlies it. You can save, restart, or abandon any project that you begin.
GeoJson Mapping
The left hand side of the screen displays a standard Google map. The right hand side of the screen will display all of the relevant code and geographic information formative of one’s map. Users can edit information featured on either side.
When a user interacts with the map by placing a marker on a geographic point, the code on the right will immediately update. This holds true for any feature on the left hand side of the page.
Here are the “types” you need to be aware of:
Point: points signify a marker’s location on the map. It marks and visualizes the point’s geographic coordinates. Note: The kit’s Garmin ETreX 20x GPS devices allow users to enter precise geographic information (latitude and longitude) into their map projects.
LineString: Line Strings show how various points on a map are connected. Line String’s connect points without creating an enclosed shape.
Polygon: Polygons connect points on a map via an enclosed shape. Polygons typically signify special information endemic to a region on a map.
Here is an example of what code looks like for a point:
{
  "type": "FeatureCollection",
  "features": [
    {
      "type": "Feature",
      "properties": {},
      "geometry": {
        "type": "Point",
        "coordinates": [
          -73.98193359375,
          40.76796420230569
        ]
      }
    }
  ]
}
Note: Further customizations are available if you click on your map point. For example, you can change the color and size of your point. You can also add a marker symbol. Examples of each customization can be found on the Deployment page.
By now, you’ve probably noticed that all of the information on the right hand side of the screen contains a name and a value. For example, “type” : “point” or “coordinates” : [longitude, latitude]. Even if you’ve never coded anything before, the name/value relationship is all you need to be aware of while using GeoJson. Know what you are editing (name) with what information you want to plug in (value). This will be especially important when you are ready to deploy your own map from scratch.
Remember: GeoJson.io is a sandbox. It’s features are limited, but the basics are transferable. For instructions on how to add images and video to points on your map, see the section titled “Deployment.”
Practice Project: The Space Between Us
Here’s an example of a practice project utilizing the Spatial Humanities Kit and GeoJson.io. For this project, high school students were directed to utilize components of the kit to document historical sites in the cities where they live as well as mark a visual difference in the spaces physical transformation. Students utilized their mobile device camera to capture GPS data embedded within the EXIF data of the image. The students used the kit’s Sony A6300 camera with the 12mm landscape lens to accurately contextualize their space. This same rig is utilized on the chickenfoot tripod for vlogging with the addition of the Rode DSLR microphone. (Additional audio can be recorded with the Movo lavaliers on a mobile device.) Lastly, students mounted the Samsung 360 camera to capture the immersive scene where they were recording data.
On the one hand, students utilized Garmin ETreX 20x GPS devices to mark their location in the spaces they documented. On the other hand, students utilized the DJI Mavic Pro drone to contextualize the GPS data within the surrounding landscape. The drone is used to record both video and stills from various heights (allowed by region) from 5 meters to 1000 meters.
Pedagogy
Pedagogically, this approach encourages both a variety of leadership and creative roles in production and digital media application. Students are encouraged to take leadership roles, identifying teammates’ skills and knowledge through conversations about past experience and technical know-how and willingness to try new gear. Through a coaching based teaching method, instructors imbue students with the responsibility to delegate tasks while also encouraging apprehensive students to attempt at new skills. For example, if a student is less experienced with shooting video, a more experienced video student could offer to assist and teach the less skilled student techniques and process under the guidance of the instructor.
Lastly, students should feel confident in creative approaches to the utilization of the kit. Instructors should encourage “creative misuse” (Farman) of the technologies. This creative misuse should be both awarded with positive reinforcement, and guided through possible uses and applications in other media and coding projects. Creative misuse should be documented in the project and archived for future deployment on other maps. Students should be able to take ownership of their creative interventions and be encouraged to express their success of the attempt regardless of possible use in the final project.
More robust projects utilizing the kit can be found at
Molloy Media Archaeology & LHSC Media Archaeology